TextRenderer is a new protocol introduced at WWDC 2024 which lets us enhance how text is rendered in SwiftUI. In this small post, I want to show how to create a view that enables you to highlight certain parts of a given String. Previously this was primarily done using NSAttributedString, but with TextRenderer it is now possible to do the same in a pure SwiftUI way.
TextRenderer setup
Before starting with the actual TextRenderer implementation, we need a way to tell the rendering which parts of a given text should be highlighted. To do so, we utilize the TextAttribute type. It can be seen as a simple marker that can be attached to Text view instances. It will be read during rendering to attach certain changes to the text. It does not need any real implementation, just a type that conforms to the protocol.
struct HighlightAttribute: TextAttribute {}Next, we can create our HighlightTextRenderer type which will take care of the text rendering. To change the style of a highlighted text the renderer will hold a reference to a ShapeStyle which can be provided to change the look of the highlighting.
struct HighlightTextRenderer: TextRenderer {

    // MARK: - Private Properties
    private let style: any ShapeStyle

    // MARK: - Initializer
    init(style: any ShapeStyle = .yellow) {
        self.style = style
    }

    // MARK : - TextRenderer
    func draw(layout: Text.Layout, in context: inout GraphicsContext) { }
}
To more efficiently access the text layouts and the individual lines, runs and run slices we add two extensions on Text.Layout which you can also find in Apples sample code here:
extension Text.Layout {
    /// A helper function for easier access to all runs in a layout.
    var flattenedRuns: some RandomAccessCollection<Text.Layout.Run> {
        self.flatMap { line in
            line
        }
    }
}
Having this in place, we start to implement the draw(layout:in:) method of our renderer.
func draw(layout: Text.Layout, in context: inout GraphicsContext) {
    for run in layout.flattenedRuns {
        if run[HighlightAttribute.self] != nil {

            // The rect of the current run
            let rect = run.typographicBounds.rect

            // Make a copy of the context so that individual slices
            // don't affect each other.
            let copy = context

            // Shape of the highlight, can be customised
            let shape = RoundedRectangle(cornerRadius: 4, style: .continuous).path(in: rect)

            // Style the shape
            copy.fill(shape, with: .style(style))

            // Draw
            copy.draw(run)
        } else {
            let copy = context
            copy.draw(run)
        }
    }
}
Let's take a closer look at what is happening here. First, we check if the current run has our custom TextAttribute attached. If it doesn't, we simply draw the text without making any changes. If the TextAttribute is attached, we proceed to modify the rendering. We obtain the rect where the text will be drawn. Then we define the shape of the highlight. Finally, we fill the shape with the specified style and draw it onto the screen.
Now we have prepared our text renderer - let's look at how to use it.
Usage
struct TextRendererTest: View {
var body: some View {
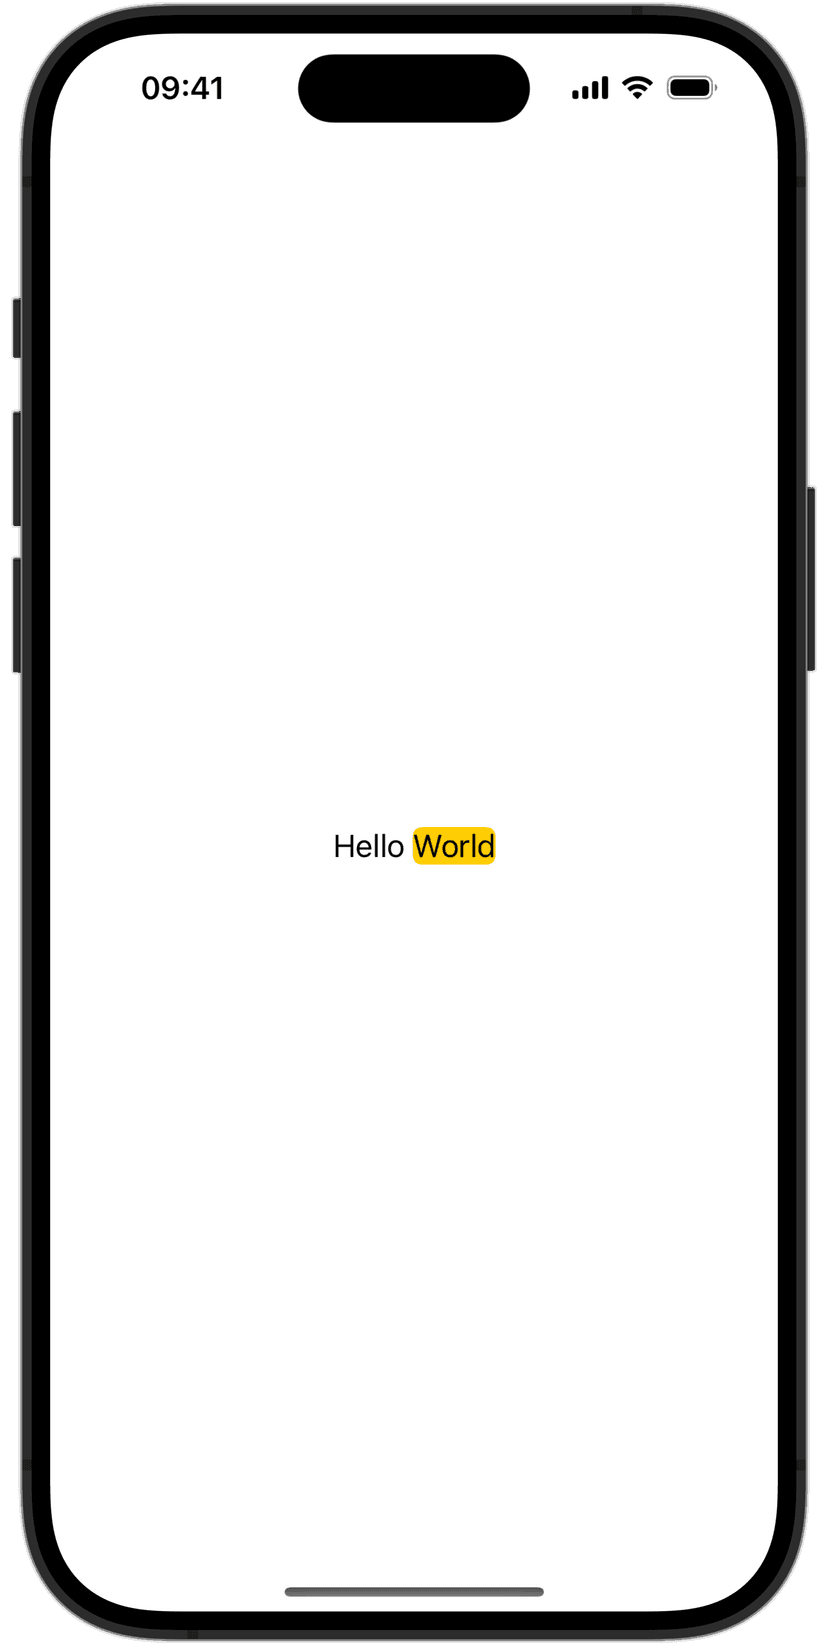
let highlight = Text("World")
.customAttribute(HighlightAttribute())
Text("Hello \(highlight)").textRenderer(HighlightTextRenderer())
}
}The only two modifiers we need are customAttribute(_:) to attach the highlight attribute and textRenderer(_:) to make use of the HighlightTextRenderer
Highlighted View
After laying the foundations, we now can combine the logic of highlighting a text into a dedicated view to make it the logic better reusable. A HighlightedText view will consist of the base text and the part of the text that should be highlighted. If no text is highlighted this property will be nil.
struct HighlightedText: View {

    // MARK: - Private Properties
    private let text: String
    private let highlightedText: String?
    private let shapeStyle: (any ShapeStyle)?

    // MARK: - Initializer
    init(text: String, highlightedText: String? = nil, shapeStyle: (any ShapeStyle)? = nil) {
        self.text = text
        self.highlightedText = highlightedText
        self.shapeStyle = shapeStyle
 }

    var body: some View { }
}
If we think about what highlighting a text means, we can summarise by the following two statements:
- Get all ranges of characters of
highlightedTextwithintext - Get the remaining ranges that are not covered by 1.
To accomplish these requirements, let's implement two extensions on String.
extension String {
    /// Find all ranges of the given substring
    ///
    /// - Parameters:
    ///   - substring: The substring to find ranges for
    ///   - options: Compare options
    ///   - locale: Locale used for finding
    /// - Returns: Array of all ranges of the substring
    func ranges(of substring: String, options: CompareOptions = [], locale: Locale? = nil) -> [Range<Index>] {
        var ranges: [Range<Index>] = []
        while let range = range(of: substring, options: options, range: (ranges.last?.upperBound ?? self.startIndex)..<self.endIndex, locale: locale) {
            ranges.append(range)
        }
        return ranges
    }


    /// Find all remaining ranges given `ranges`
    ///
    /// - Parameters:
    ///   - ranges: A set of ranges
    /// - Returns: All the ranges that are not part of `ranges`
    func remainingRanges(from ranges: [Range<Index>]) -> [Range<Index>] {
        var result = [Range<Index>]()

        // Sort the input ranges to process them in order
        let sortedRanges = ranges.sorted { $0.lowerBound < $1.lowerBound }

        // Start from the beginning of the string
        var currentIndex = self.startIndex

        for range in sortedRanges {
            if currentIndex < range.lowerBound {
                // Add the range from currentIndex to the start of the current range
                result.append(currentIndex..<range.lowerBound)
            }

            // Move currentIndex to the end of the current range
            currentIndex = range.upperBound
        }

        // If there's remaining text after the last range, add it as well
        if currentIndex < self.endIndex {
            result.append(currentIndex..<self.endIndex)
        }

        return result
    }
}
After defining the two helper methods, we can implement the final lines in 'HighlightedText'. We define a small helper struct that holds a 'Text' instance and a 'range' property describing the position of the text in the initial text.
fileprivate struct HighlightedTextComponent {
    let text: Text
    let range: Range<String.Index>
}
Now we add a method that will, in order, extract an array of HighlightedTextComponent from the text property of HighlightedText.
struct HighlightedText: View {
    /// Extract the highlighted text components
    ///
    /// - Parameters
    ///     - highlight: The part to highlight
    /// - Returns: Array of highlighted text components
    private func highlightedTextComponent(from highlight: String) -> [HighlightedTextComponent] {
        let highlightRanges = text.ranges(of: highlight, options: .caseInsensitive)
        let remainingRanges = text.remainingRanges(from: highlightRanges)

        let highlightComponents = highlightRanges.map {
            HighlightedTextComponent(text: Text(text[$0]).customAttribute(HighlightAttribute()), range: $0)
        }

        let remainingComponents: [HighlightedTextComponent] = remainingRanges.map {
            HighlightedTextComponent(text: Text(text[$0]), range: $0)
        }

        return (highlightComponents + remainingComponents).sorted(by: { $0.range.lowerBound < $1.range.lowerBound  } )
    }
}
To highlight specific ranges of text, we can create a Text instance by incorporating a custom highlight attribute for the intended ranges. For the remaining ranges, the attribute won't be added. Then, the components are sorted to maintain the original text order when eventually rendered.
The final step is implementing the body. This can be done by straightforwardly iterating over all text components and associating the HighlightTextRenderer with the Text instance if a highlight needs to be displayed.
struct HighlightedText: View {
    var body: some View {
        if let highlightedText, !highlightedText.isEmpty {
            let text = highlightedTextComponent(from: highlightedText).reduce(Text("")) { partialResult, component in
                return partialResult + component.text
            }
            text.textRenderer(HighlightTextRenderer(style: shapeStyle ?? .yellow))
        } else {
            Text(text)
        }
    }
}
The final HighlightedText.swift file looks like this:
struct HighlightedText: View {

    // MARK: - Private Properties
    private let text: String
    private let highlightedText: String?
    private let shapeStyle: (any ShapeStyle)?

    // MARK: - Initializer
    init(text: String, highlightedText: String? = nil, shapeStyle: (any ShapeStyle)? = nil) {
        self.text = text
        self.highlightedText = highlightedText
        self.shapeStyle = shapeStyle
    }

    // MARK: - Body
    var body: some View {
        if let highlightedText, !highlightedText.isEmpty {
            let text = highlightedTextComponent(from: highlightedText).reduce(Text("")) { partialResult, component in
                return partialResult + component.text
            }
            text.textRenderer(HighlightTextRenderer(style: shapeStyle ?? .yellow))
        } else {
            Text(text)
        }
    }

    /// Extract the highlighted text components
    ///
    /// - Parameters
    ///     - highlight: The part to highlight
    /// - Returns: Array of highlighted text components
    private func highlightedTextComponent(from highlight: String) -> [HighlightedTextComponent] {
        let highlightRanges: [HighlightedTextComponent] = text
            .ranges(of: highlight, options: .caseInsensitive)
            .map { HighlightedTextComponent(text: Text(text[$0]).customAttribute(HighlightAttribute()), range: $0)  }

        let remainingRanges = text
            .remainingRanges(from: highlightRanges.map(\.range))
            .map { HighlightedTextComponent(text: Text(text[$0]), range: $0)  }

        return (highlightRanges + remainingRanges).sorted(by: { $0.range.lowerBound < $1.range.lowerBound  } )
    }
}

fileprivate struct HighlightedTextComponent {
    let text: Text
    let range: Range<String.Index>
}
With this component in place, you can start creating any view that needs highlighting. For example, a search view that highlights why a certain entry in the list is found.
Conclusion
In this small post, I showed how to use the new TextRenderer protocol to influence the rendering of Text. Later we saw how this can be used to create a SwiftUI native text highlighting view.
Please feel free to reach out to me if you find any mistakes, or have questions or suggestions. 🙂
See you next time! 👋