This is part one of the series. You can find the other parts here:
Did you ever wondered how all of these PDF Scan applications out there do the magic conversation from an image to a searchable PDF ? Recently I was facing exactly this issue at work - with the constraint of not using any external dependencies. After some online search and some experiments I managed to implement it by using VisionKit and PDFKit without any external dependencies necessary and wanted to share what I have found out.
I decided to split the topic into trhee separate articles since there are a lot of things covered I want to keep my posts small and concise. In part one I want to highlight how we can utilise VisionKit to create scans from documents whereas in part 2 I will look at the recognition of text and in part 3 we will combine both and insert everything into a PDF.
Throughout the posts I will work with SwiftUI for the UI layer. Nevertheless, everything else shown is fully applicable to UIKit applications as well.
Starting point
At first let us define what we currently have and what we want to achieve. We want to convert an image of some physical document to a PDF file where it is possible to search through the text. In order to achieve that, we have to implement the following things:
- Part 1
- Foundations
- Scan the document
- Part 2
- Recognize the text on scanned images
- Part 3
- Create a PDF with the images
- Place the recognized text behind each image on the PDF
- Save and display the PDF
Wrap for SwiftUI
Having a look at our list from the previous section, the first thing that needs to be accomplished is to somehow scan images. VisionKit already offers a view controller that does the heavy lifting for us: VNDocumentCameraViewController. It provides a camera view that can detect boundaries of documents on images as well as applying some basic image filters to improve the quality of the scanned document.
In order to use VNDocumentCameraViewController in SwiftUI we need to utilise UIViewControllerRepresentable protocol to wrap UIKit components to SwiftUI.
struct ScanDocumentView: UIViewControllerRepresentable {

    func makeUIViewController(context: Context) -> VNDocumentCameraViewController {
        let documentViewController = VNDocumentCameraViewController()
        return documentViewController
    }

    func updateUIViewController(_: VNDocumentCameraViewController, context _: Context) {
        // nothing to do here
    }
}
To conform to the protocol we need to implement two methods, makeUIViewController and updateUIViewController. These two methods handle the lifecycle of the UIKit view inside SwiftUI: Creating and updating the view controller.
For now we are only creating a VNDocumentCameraViewController instance but we do not have a way to interact it with yet. Here comes the concept of the Coordinator in play. The Coordinator is nothing more than a class inside the UIViewControllerRepresentable conforming struct which is responsible for being the delegate of UIKit ViewControllers.
struct ScanDocumentView: UIViewControllerRepresentable {

    func makeCoordinator() -> Coordinator {
        Coordinator(parent: self)
    }

    func makeUIViewController(context: Context) -> VNDocumentCameraViewController {
        let documentViewController = VNDocumentCameraViewController()
        documentViewController.delegate = context.coordinator
        return documentViewController
    }

    //...

    class Coordinator: NSObject, VNDocumentCameraViewControllerDelegate {
        var parent: ScanDocumentView

        init( parent: ScanDocumentView) {
            self.parent = parent
        }

        func documentCameraViewController(_: VNDocumentCameraViewController, didFinishWith scan: VNDocumentCameraScan) {
            // handle finished scan
        }
    }
}
As you can see, several things were added to our ScanDocumentView. At first another method of the UIViewControllerRepresentable protocol is implemented - makeCoordinator. This method is automatically called when instantiating the view and attaches a Coordinator instance to the context of the view. The context is passed to the makeUIViewController method and makes the aforementioned instance available to be used as the delegate of the VNDocumentCameraViewController.
Our version of the Coordinator class is holding a reference to the parent which created it. This comes in handy if the delegate has to trigger some actions on the parent in the future (e.g. shown in the next section). Additionally, it implements the documentCameraViewController method of the VNDocumentCameraViewControllerDelegate which is used to grab the scanned document after the user has finished scanning.
We have come pretty far already. We wrapped VNDocumentCameraViewController into a View struct as well as created a Coordinator in order to react to certain events. Now we need to show the view to the user.
Show the ScanDocumentView
In order to do that, I decided it would be neat to show the document ScanDocumentView inside a modal when some button is pressed. In order to accomplish that we need to add just a little bit more code to the ScanDocumentView.
struct ScanDocumentView: UIViewControllerRepresentable {
    @Binding var isPresented: Bool

    //...

    class Coordinator: NSObject, VNDocumentCameraViewControllerDelegate {
        //...

        func documentCameraViewController(_: VNDocumentCameraViewController, didFinishWith scan: VNDocumentCameraScan) {
            // Toggle the binding of the parent
            parent.isPresented.toggle()
        }
    }
A Binding is added to the view in order to hide the view when the scan is finished. Now it becomes very easy to show the view inside a modal.
import SwiftUI

struct ContentView: View {
    @State private var showingScanningView = false

    var body: some View {
        Button("Show Scanner") {
            self.showingScanningView.toggle()
        }.sheet(isPresented: $showingScanningView, content: {
            ScanDocumentView(isPresented: $showingScanningView)
        })
    }
}
Since the ScanDocumentView is holding a binding to the showingScanningView property on ContentView it is possible to hide the modal from within the coordinator of ScanDocumentView when the user is finished with scanning of the documents. This is either the case when the scanning process is cancelled or finished successfully. You can now try to run the code we have in your own SwiftUI app.
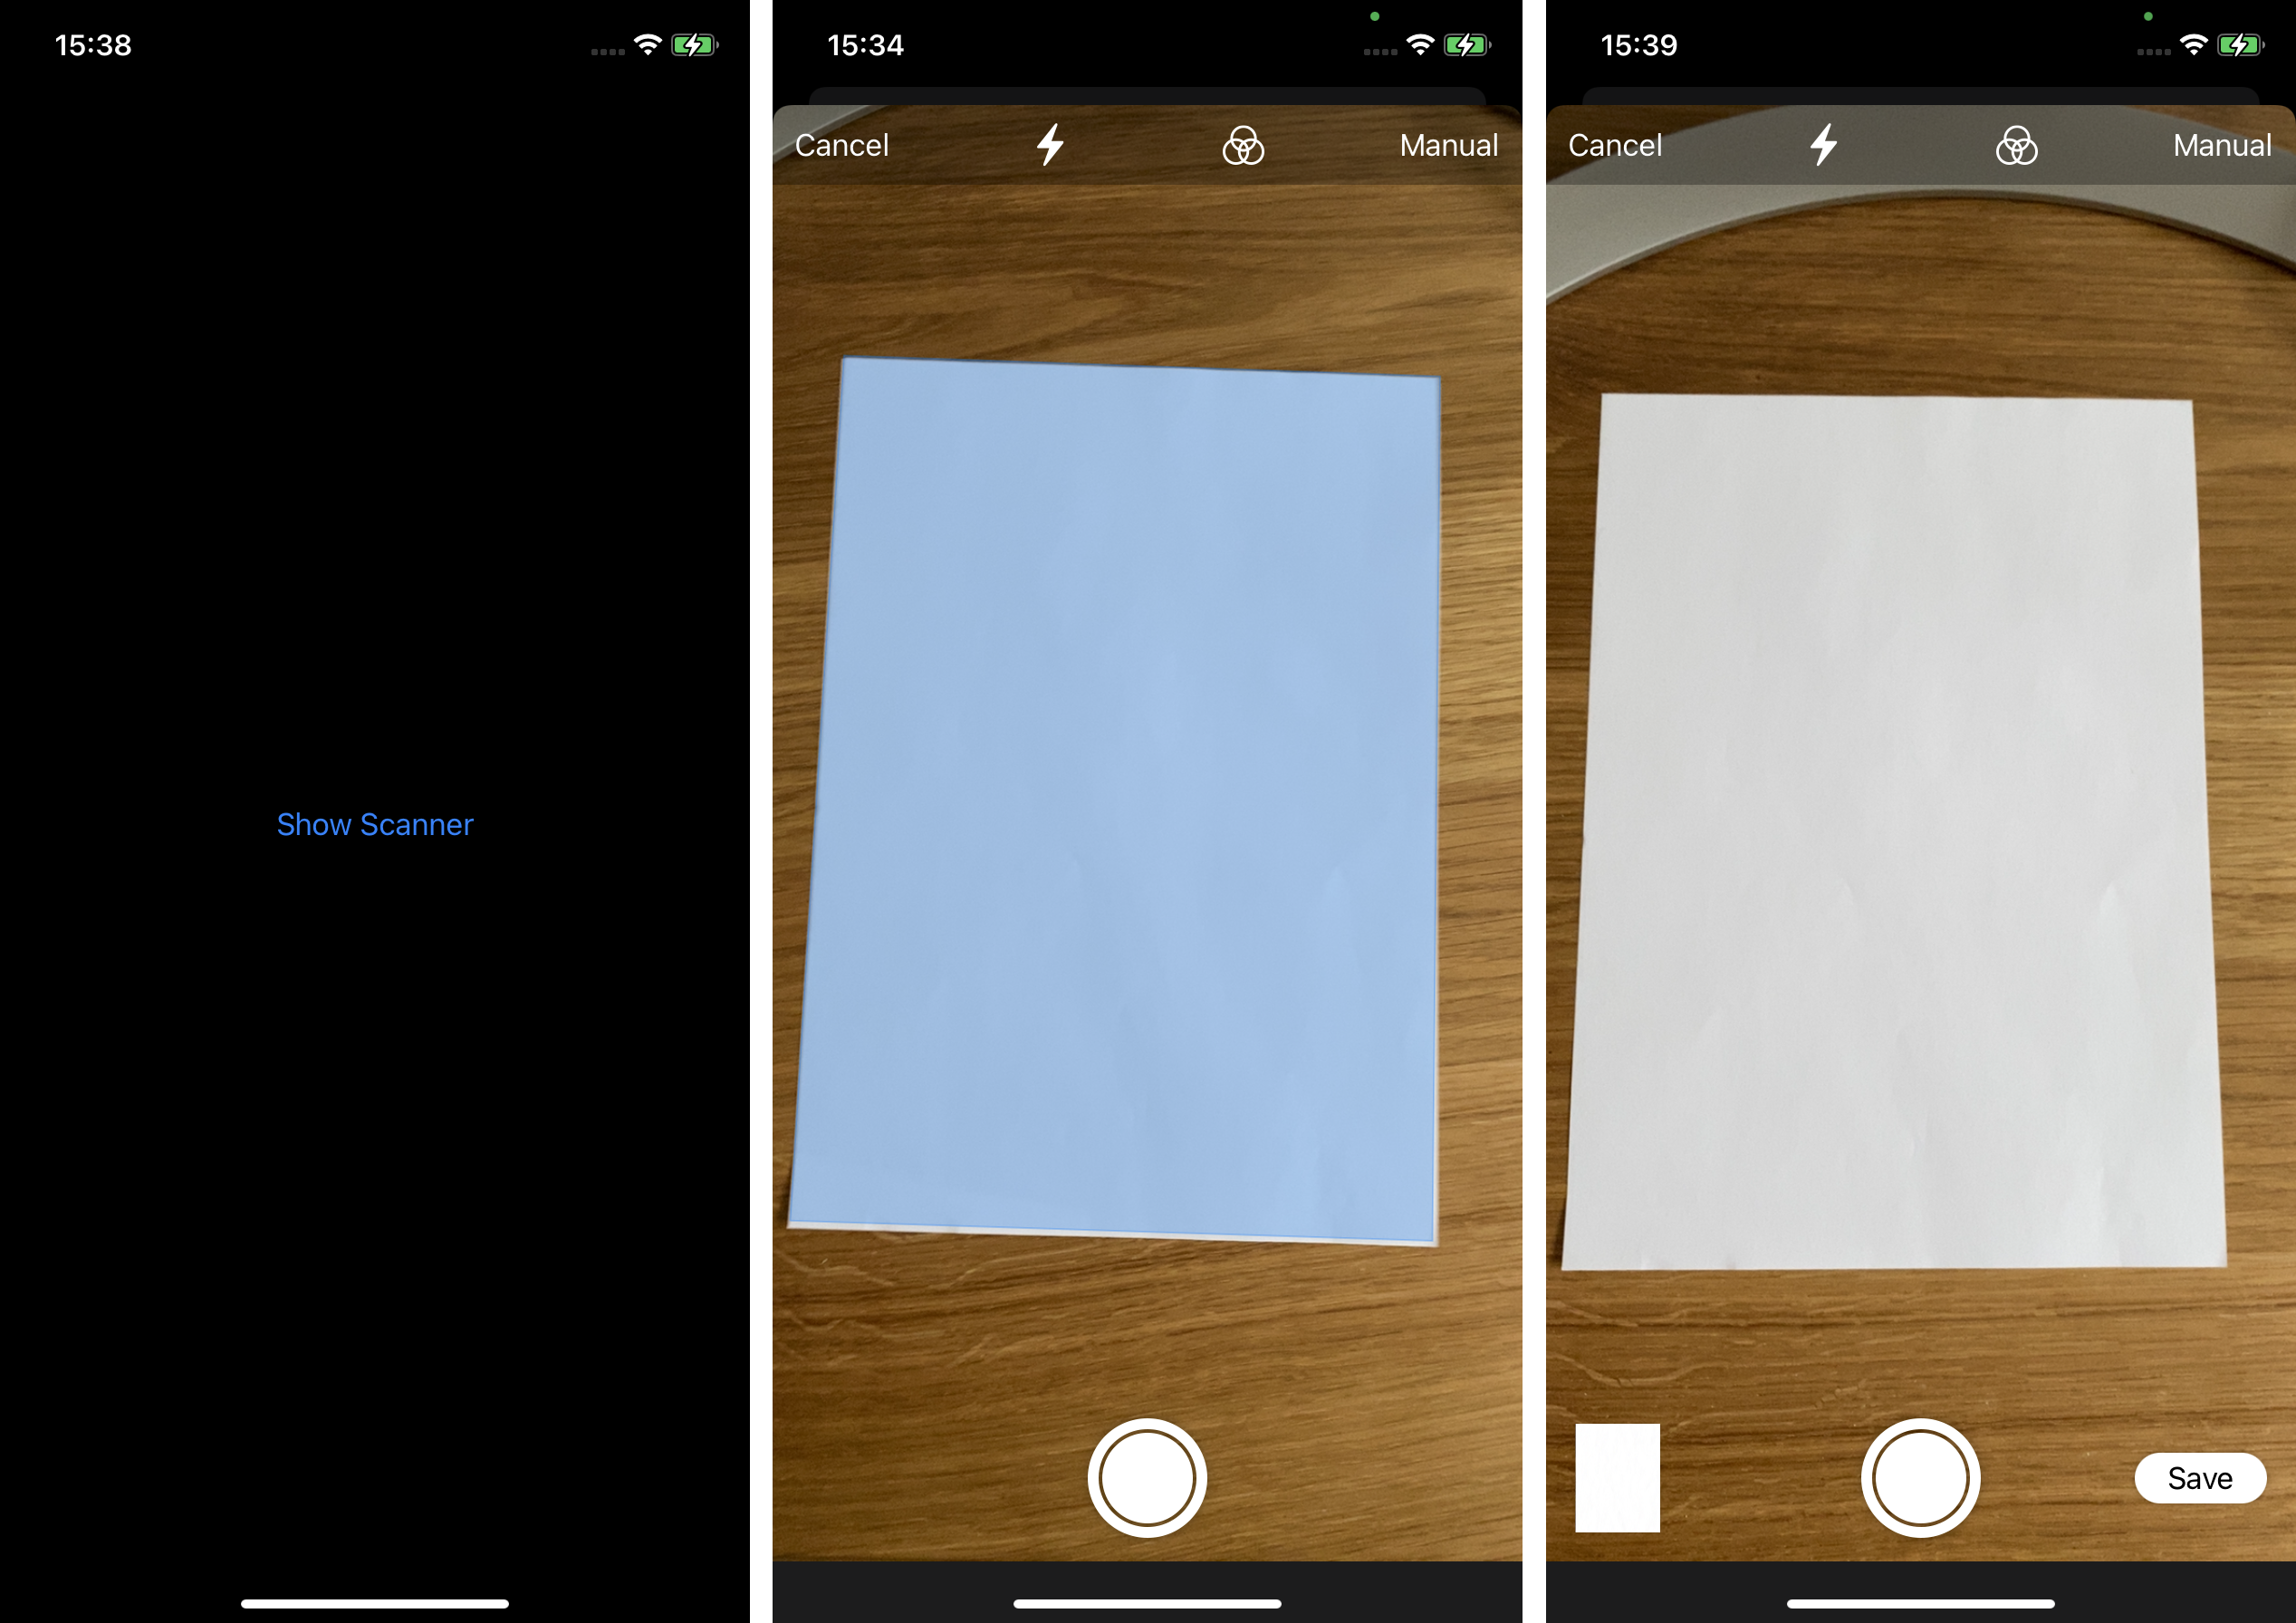
I highly encourage you to try this out - but keep in mind that the camera is not available inside the simulator and you need a real device to test this.
Conclusion
That's a wrap for part 1 of this post. We successfully integrated the VNDocumentCameraViewController into SwiftUI. Furthermore our code can react to the delegate methods of it. We also were able to reference the isPresented property from within our ScanDocumentView to toggle the modal it is presented in.
In the next part I am going to highlight how we can recognize text on the result of the VNDocumentCameraViewController. If you have suggestions or question don't hesitate to reach out to me.
Stay tuned 👋